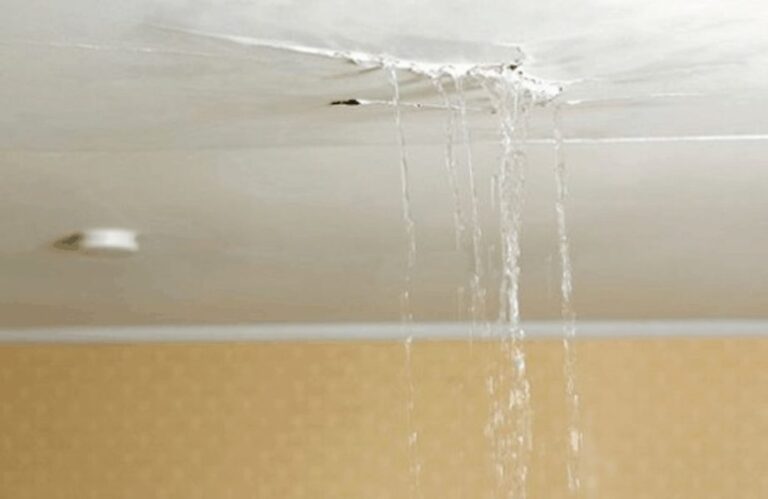
There’s nothing worse than a surprise discovery of water damage. Unfortunately, if you have a water damaged ceiling it’s usually caused by a persistent problem rather than a once off incident.
Signs of a leaking ceiling
Ceiling leaks can pass directly down through the ceiling or in some situations spread out through the ceiling plaster and drip down the walls.
Some early warning signs are
- Water stains on the ceiling
- Bubbled paint
- Bulging wallpaper
If you see any of these signs, or suspect a leak you should call your home insurance provider immediately and talk to their team. They can advise you on what to do next.
In the meantime there are some steps you can take to contain the damage.
-
Clear the room
Move any valuable items out of the way and place a bucket, pot or other vessel under the leak. If you have a waterproof sheet or tarpaulin to hand, it’s a good idea to lay it out underneath the bucket to protect the floor.
-
Drain the water
If water is leaking rapidly, a plaster ceiling will continue to absorb and disperse the water. The more the water spreads, the more likely the entire ceiling will need to be replaced.
It sounds dramatic, but to prevent this happening it’s better to create a hole in the ceiling to control the water flow. You can do this by making a small hole at the centre of the stain or bulge using a screwdriver. The water should then channel directly through the hole and into your bucket or vessel.
-
Find the source of the leak
If you’re confronted with a water stained ceiling, it’s usually a sign of a bigger problem lurking in pipework above. It’s important to track down where the water is coming from and repair it as quickly as possible.
Some common causes of ceiling leaks in the home
- Damaged or poorly maintained shower and bath seals
- Broken waste pipe
- Hot water cylinders
- Leaking attic storage tank
Note: At this point we strongly recommend calling a professional to carry out the next steps or engage with your insurance company to arrange repairs.
-
Dry things out
Residual moisture is bad news, especially in ceiling cavities. Moisture trapped behind plasterboard can turn to mould, causing unpleasant smells or even pose a health hazard.
If you find a leak early and stop the spread before significant damage is done, it may dry up on its own. But for larger leaks it’s important that the ceiling is dried out fully using a dehumidifier or fan. Your insurance company or builder will be able to advise you about what’s required but it may involve opening up a section of the ceiling or in a worst case scenario the whole ceiling torn out, the affected timbers dried and the ceiling replaced.
-
Repair the ceiling
Depending on the severity of the leak, a repair might involve a slight touch up with some filler and paint, or replacement and repainting of the entire ceiling.
Get alerted to leaks early and avoid damage
A smart water security system like Leak Watch allows you to detect leaks early using sensors and switch your water supply off in seconds with your phone. It even detects leaks in ceilings.
Leak Watch is launching soon, join the mailing list below and get early access to the product.